
This is the continuation of the AWS learning series. In this article, we will learn about AWS S3 bucket by actually creating one, uploading files to it and enabling static web hosting to host the uploaded files.
Are you ready with your laptop and AWS account to create our first AWS S3 bucket?
Pre-requisite
- Create an AWS account using your email address.
This link will guide you to set up your first AWS account.
- Create an AWS IAM user. (optional)
If you haven't created a separate user, then this article will guide you to create your first AWS IAM user. Creating your resources in your root account is not recommended, and hence, we are creating and using a separate IAM user for your exercises.
Now, with the above steps completed, we are all set to start creating our S3 bucket.
Let’s start!
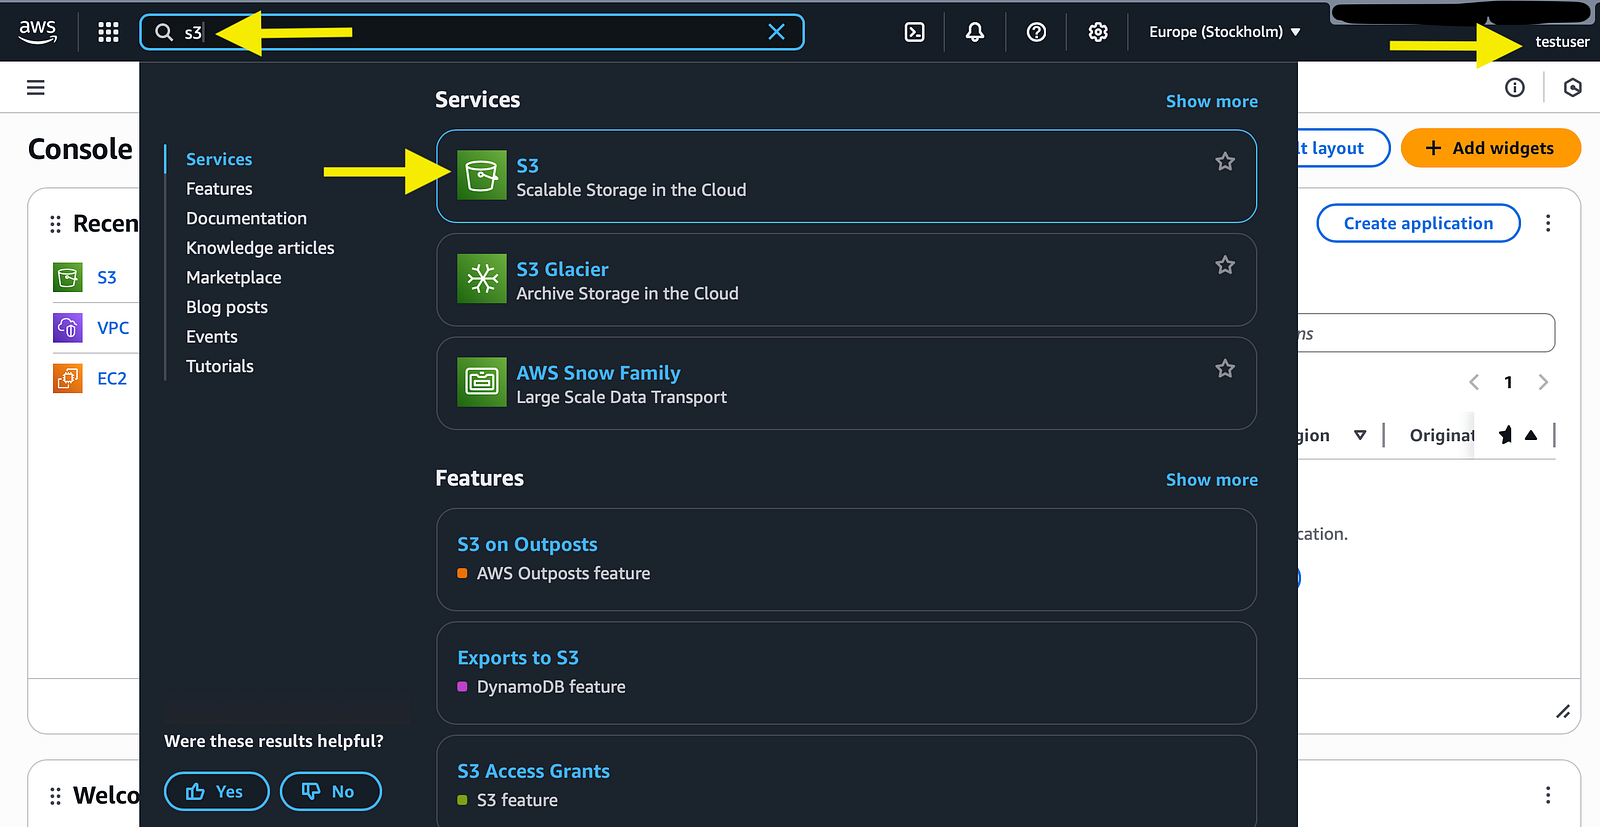
- Log in to your AWS account and go to the S3 service.
2. Create Bucket.

3. Provide a name and disable blocking public access.

The bucket name should be unique. If someone else has created the same bucket name, then we won't be able to use that name.
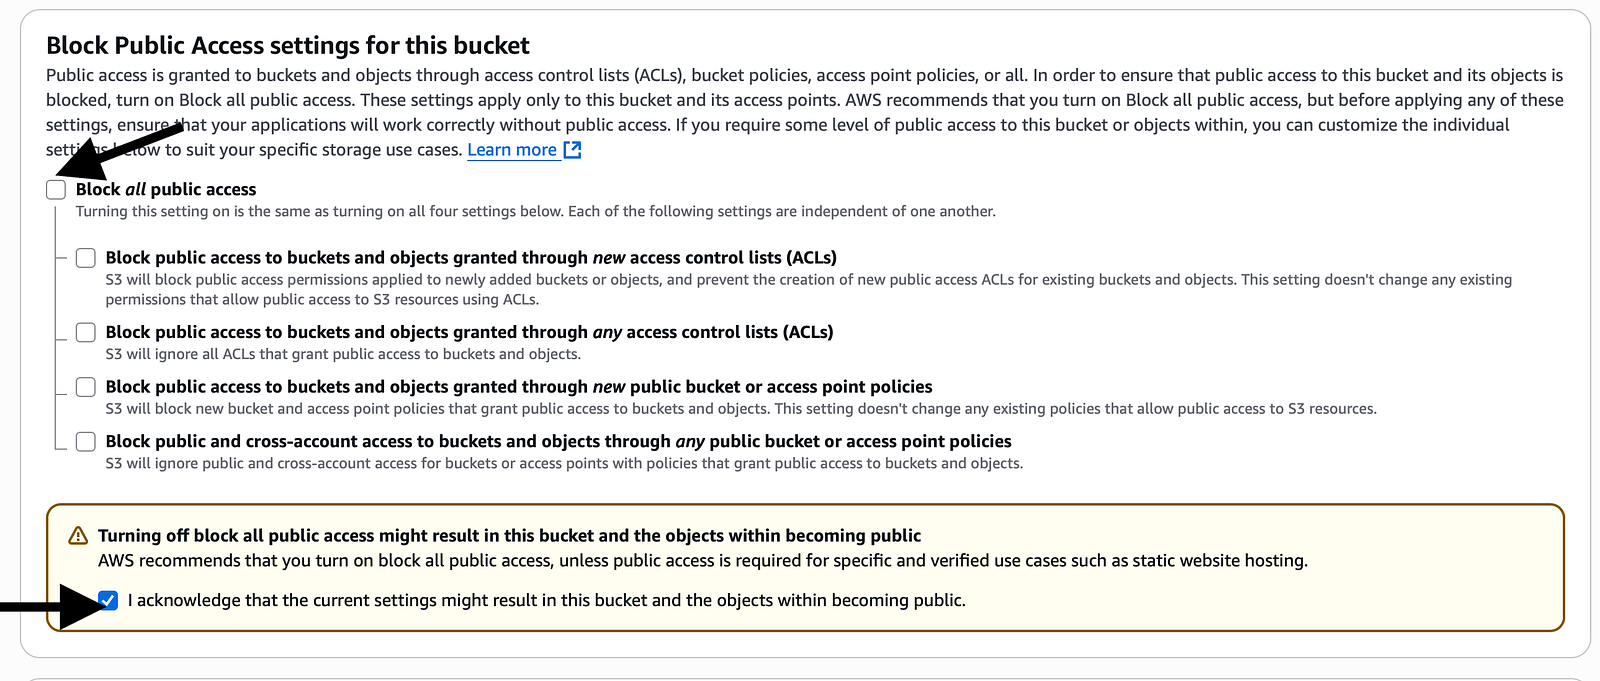
Uncheck “Block all public access and check “I acknowledge”.
Ideally, we shouldn’t make our bucket public, but here we are doing so for learning purposes only.

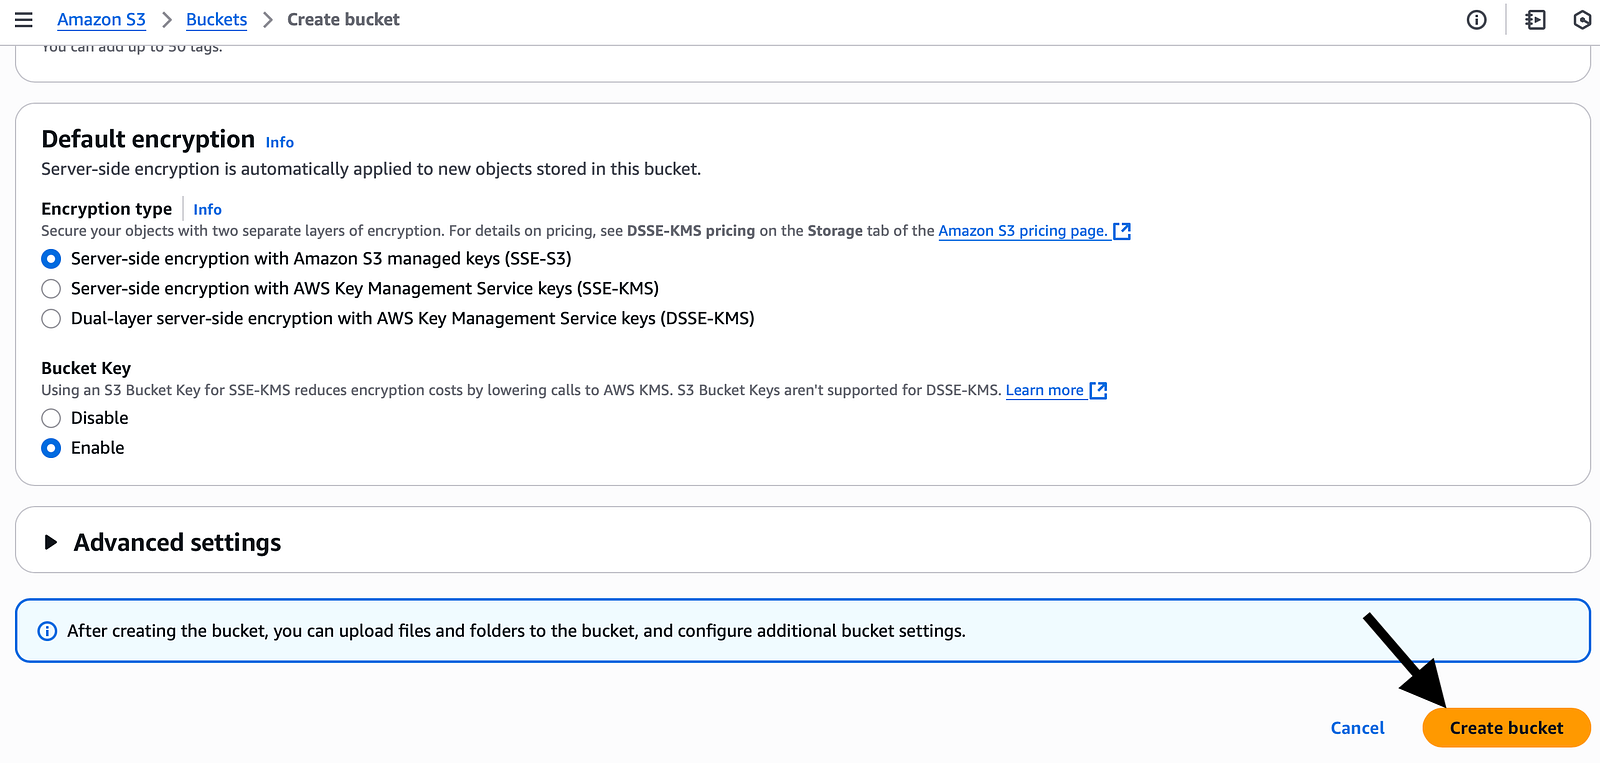
Click on “Create bucket”, and our bucket is ready now.
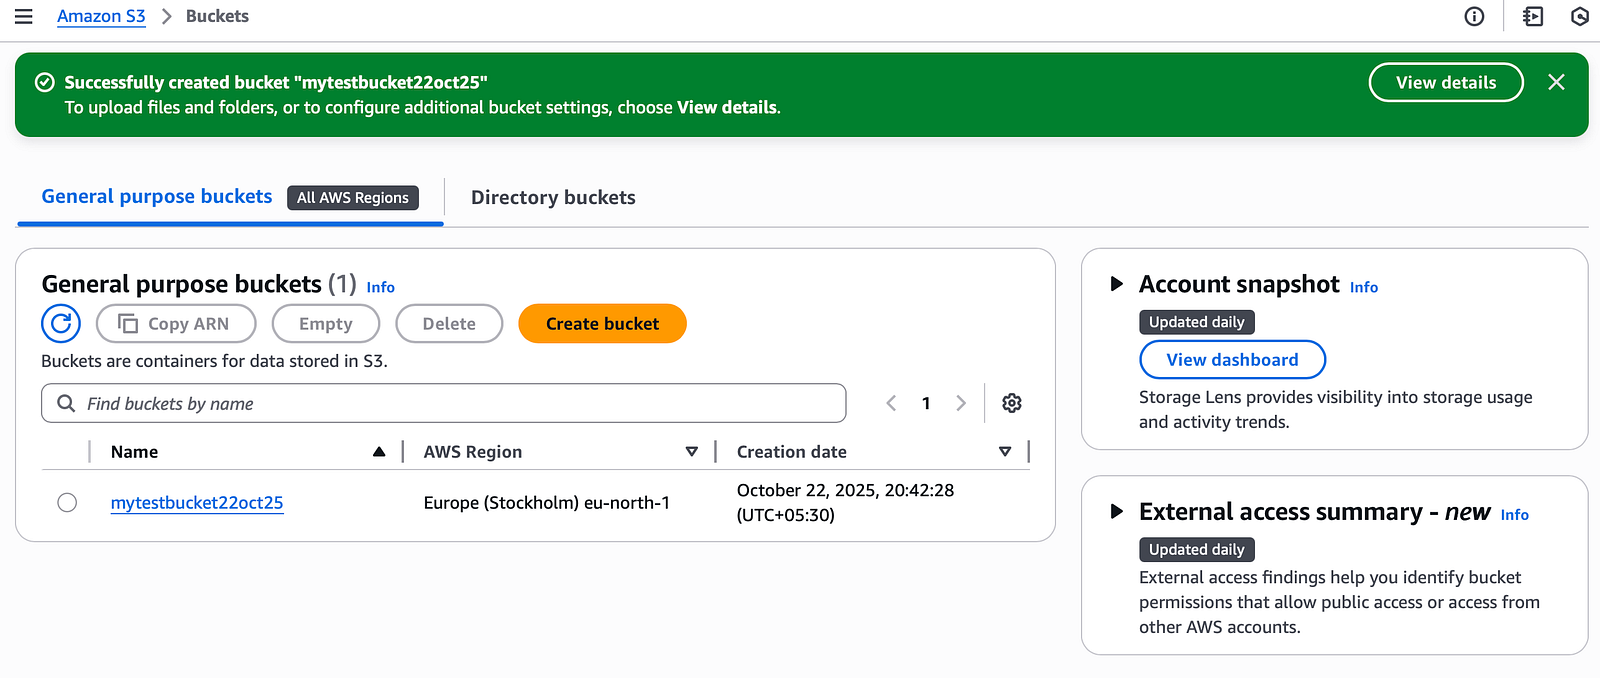
If you are getting an error saying the bucket name is already taken, then just give some other random name and try again.
4. Create your index.html to upload to your S3 bucket.
<html>
    <head>
        <title>My First Webpage</title>
    </head>
    <body>
        <h1>I love coffee</h1>
        <p>Hello world!</p>
    </body>
</html>
Copy the above code block and save it as an index.html file.
5. Upload your files to the S3 bucket.
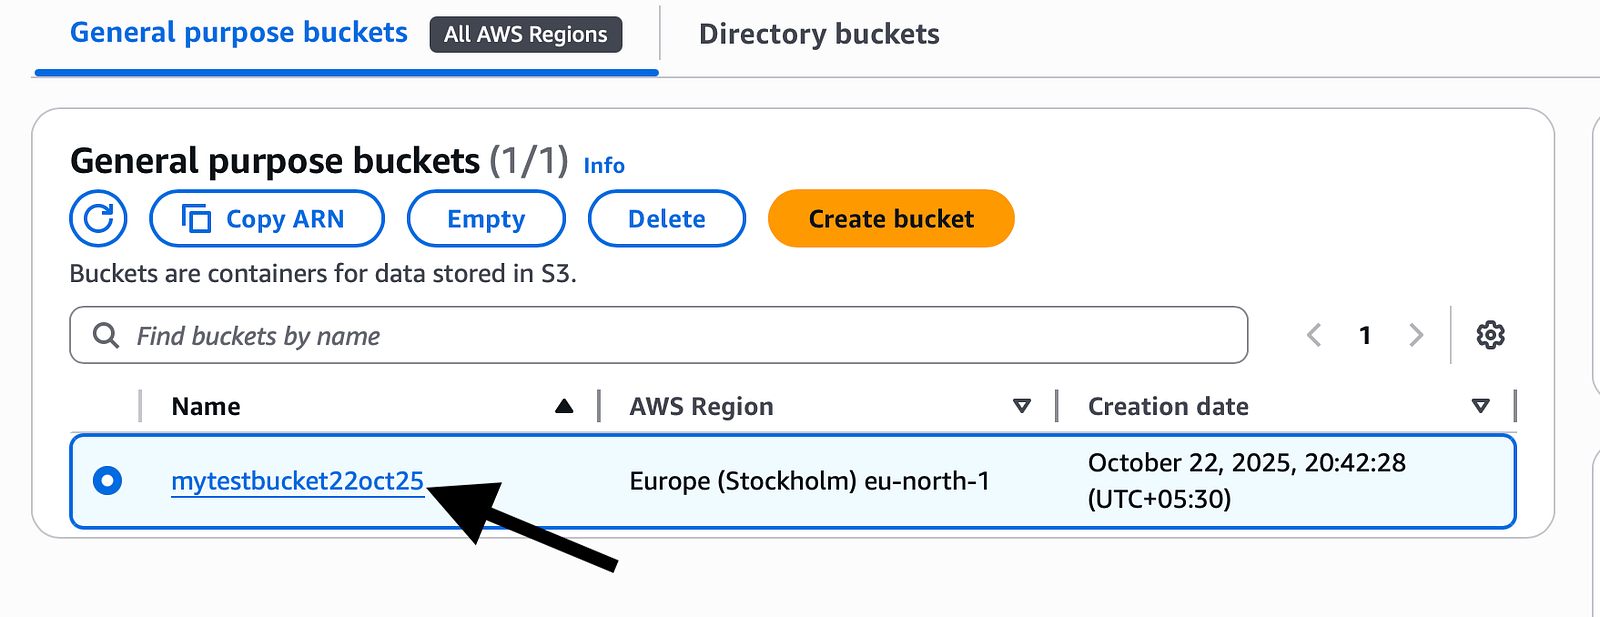
Click on your bucket name.

Click “Upload”.

You can either drag and drop your files or click on add files to upload your index.html file from your computer.

Once your file is added, click “Upload” and you will see the below screen if successful.

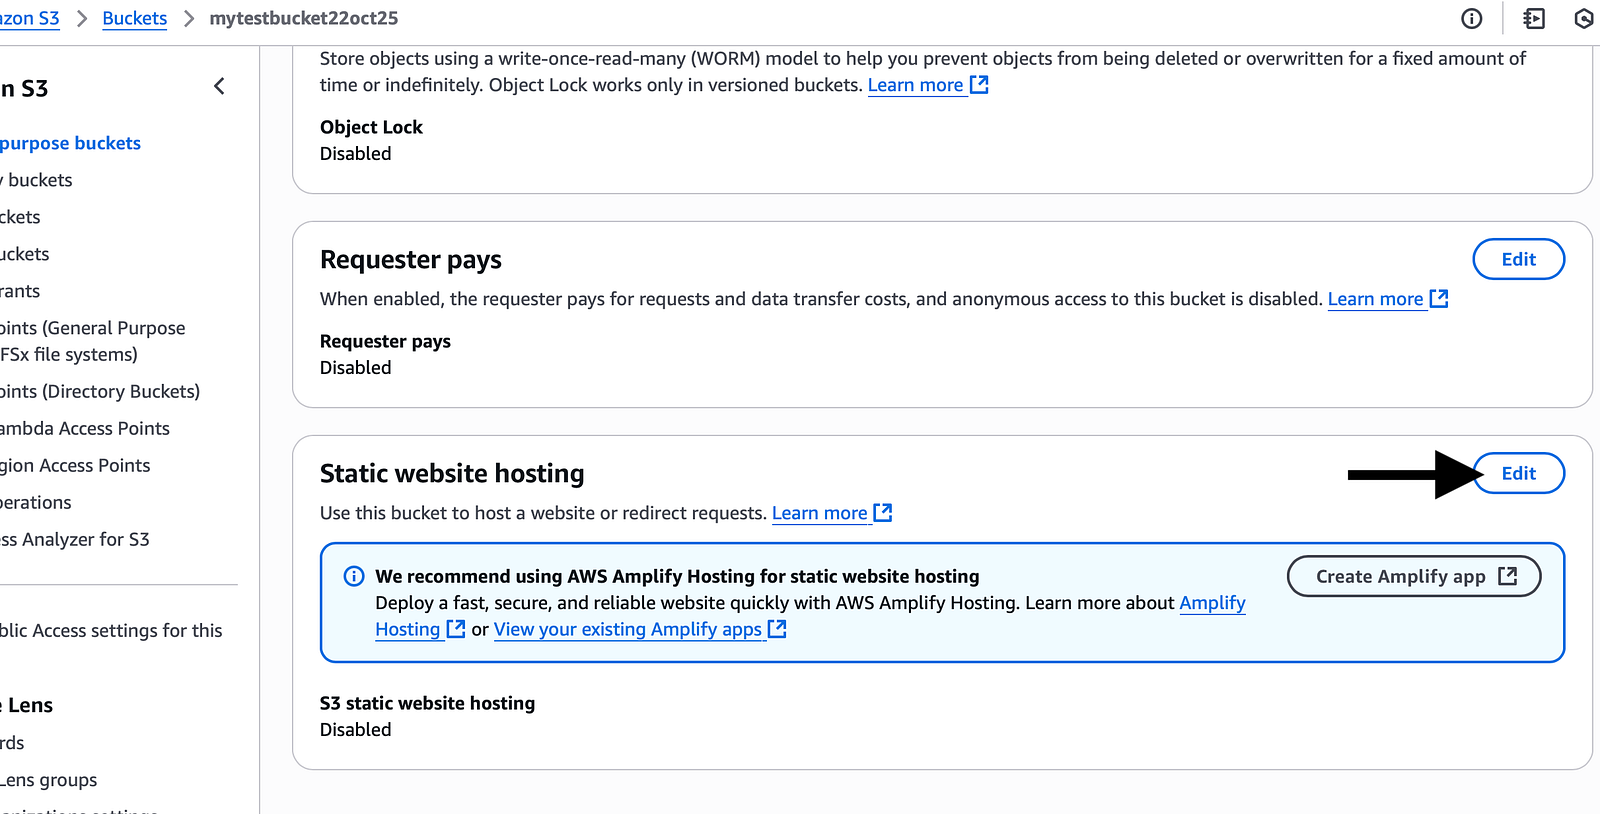
6. Enable Static Website Hosting.
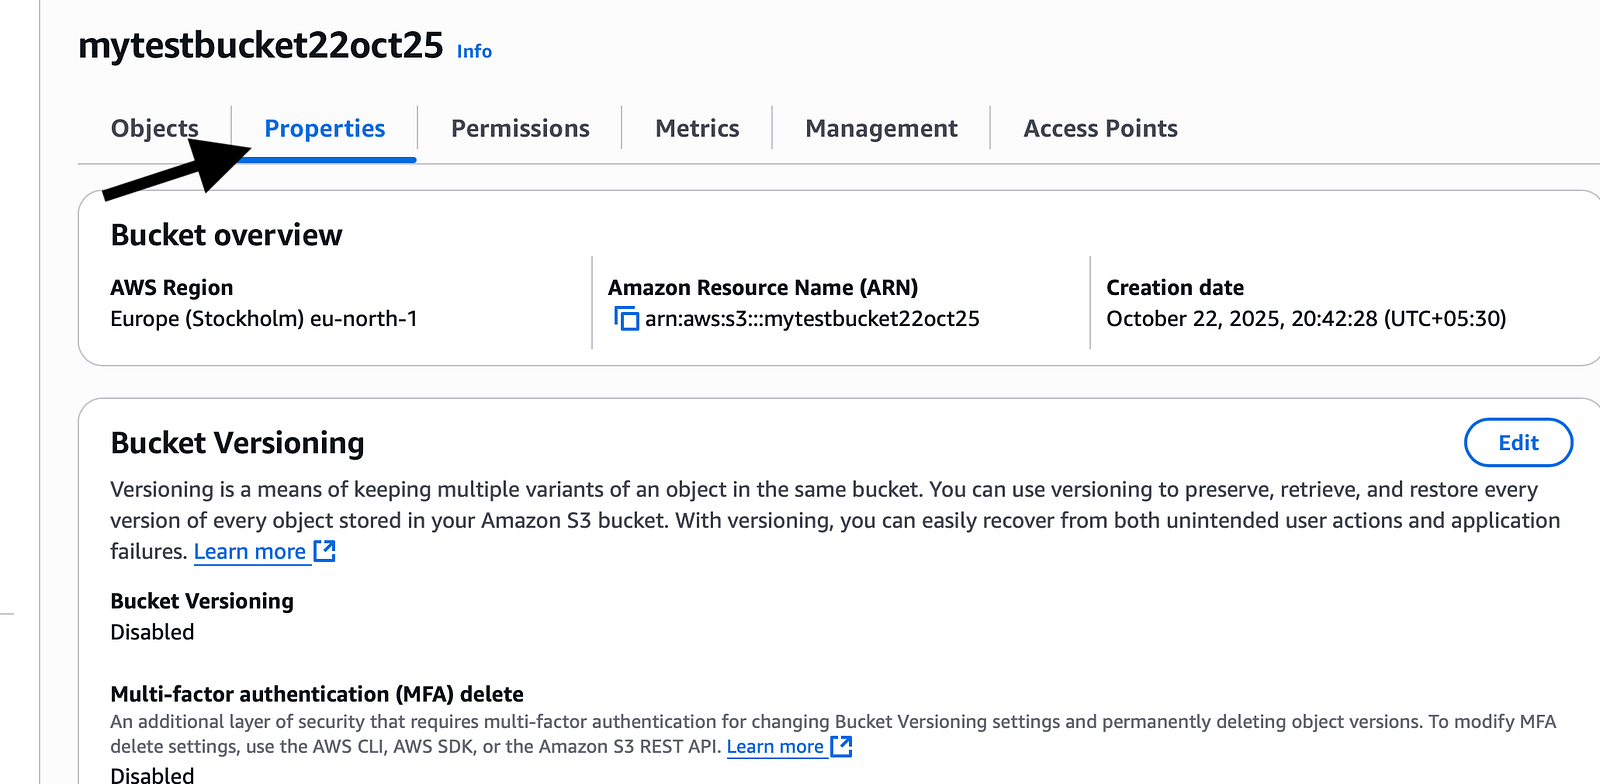
To enable static hosting, go to your bucket page and click on “Properties”.

Scroll down until you see “Static website hosting” then click edit and enable it.
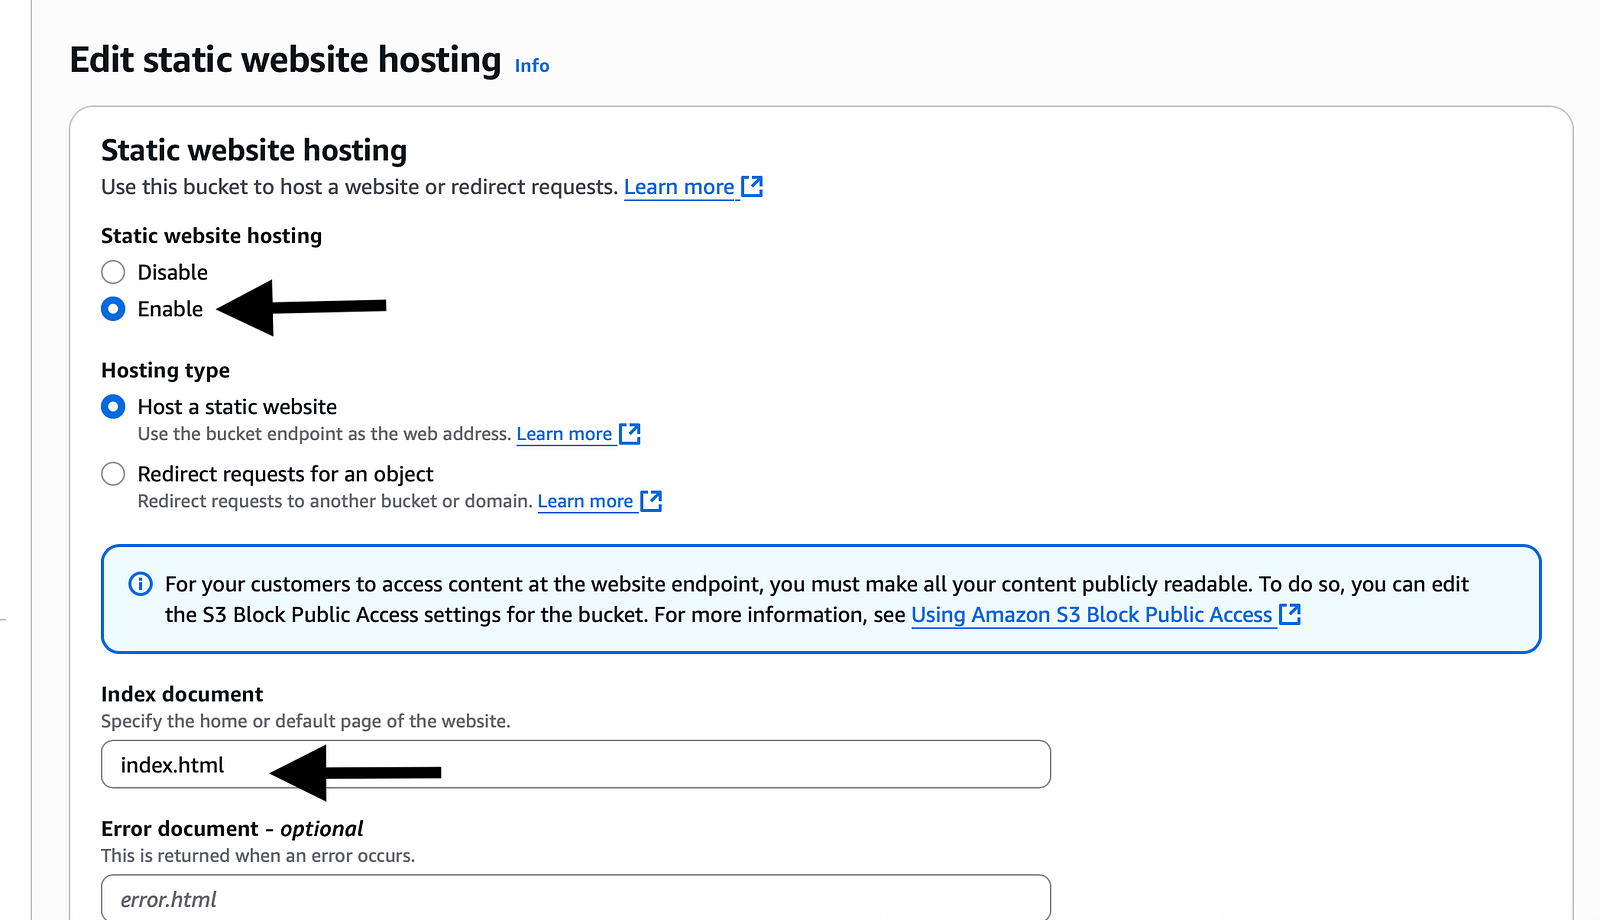
Don't worry about any other options here now, just scroll down and click “Save changes”.
Even if you don't mention index.html in the Index document column, it will automatically take index.html only.
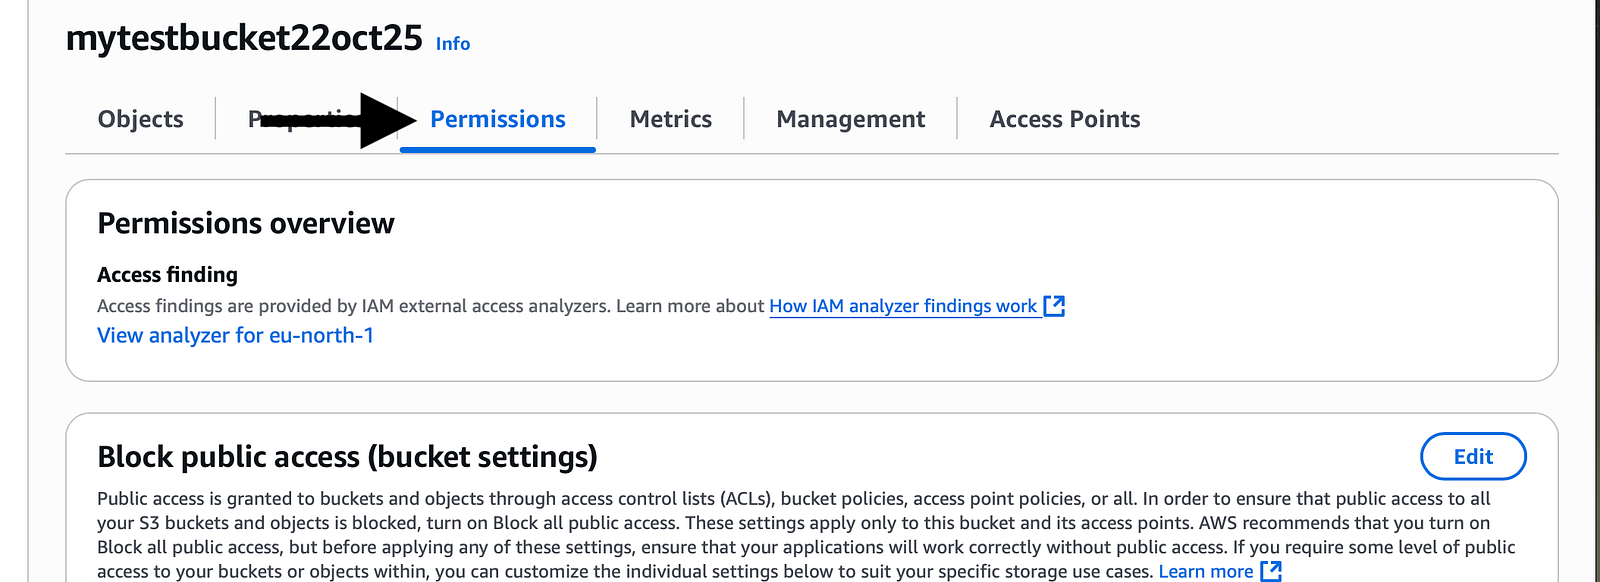
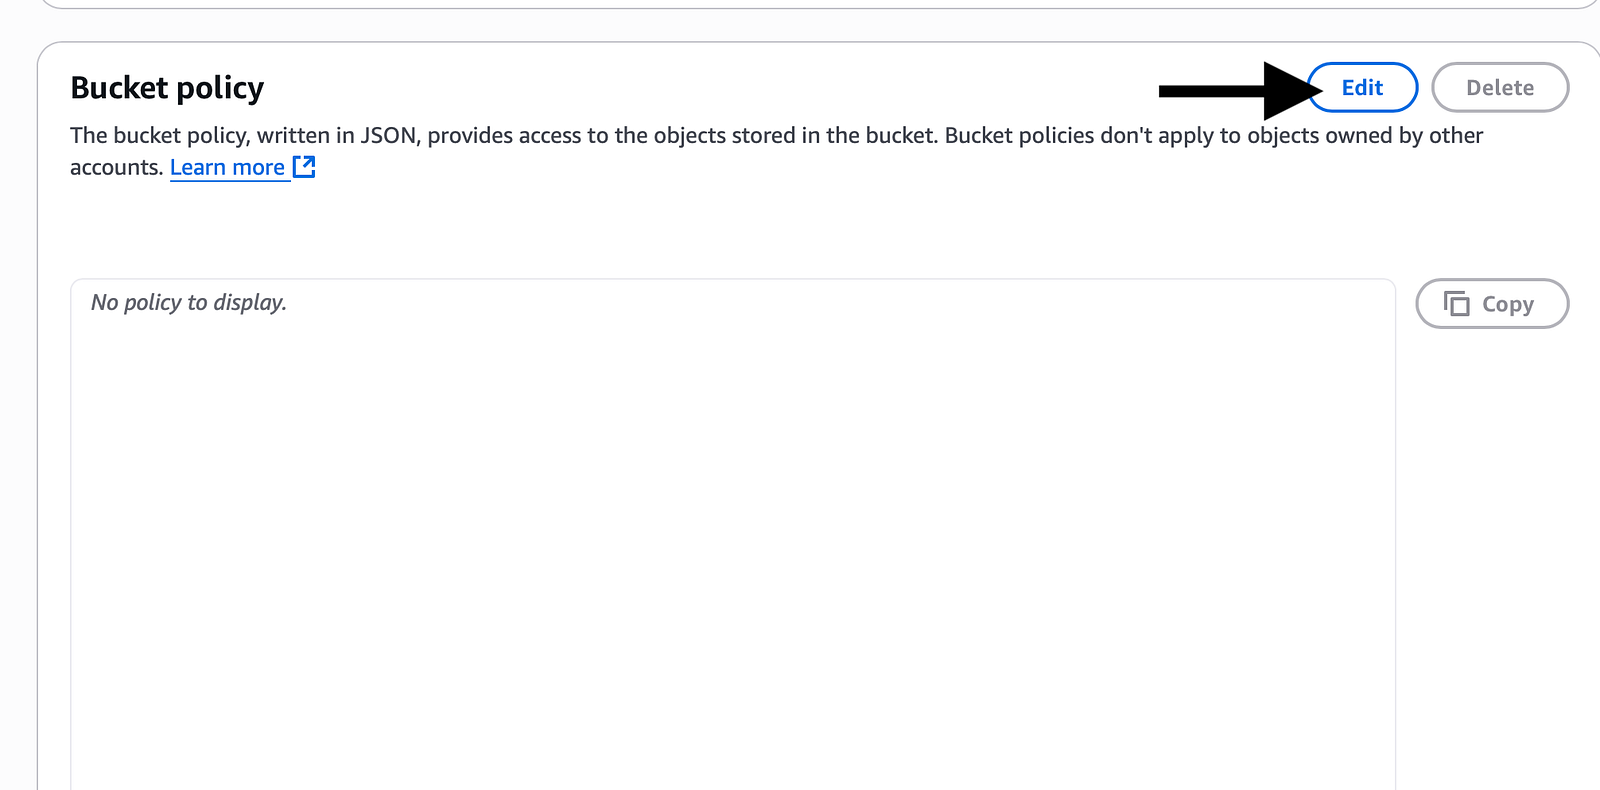
7. Configure Bucket Policy for Public Access.
Go to the “Permissions” tab in your bucket and add a policy to grant public read access to your bucket files.
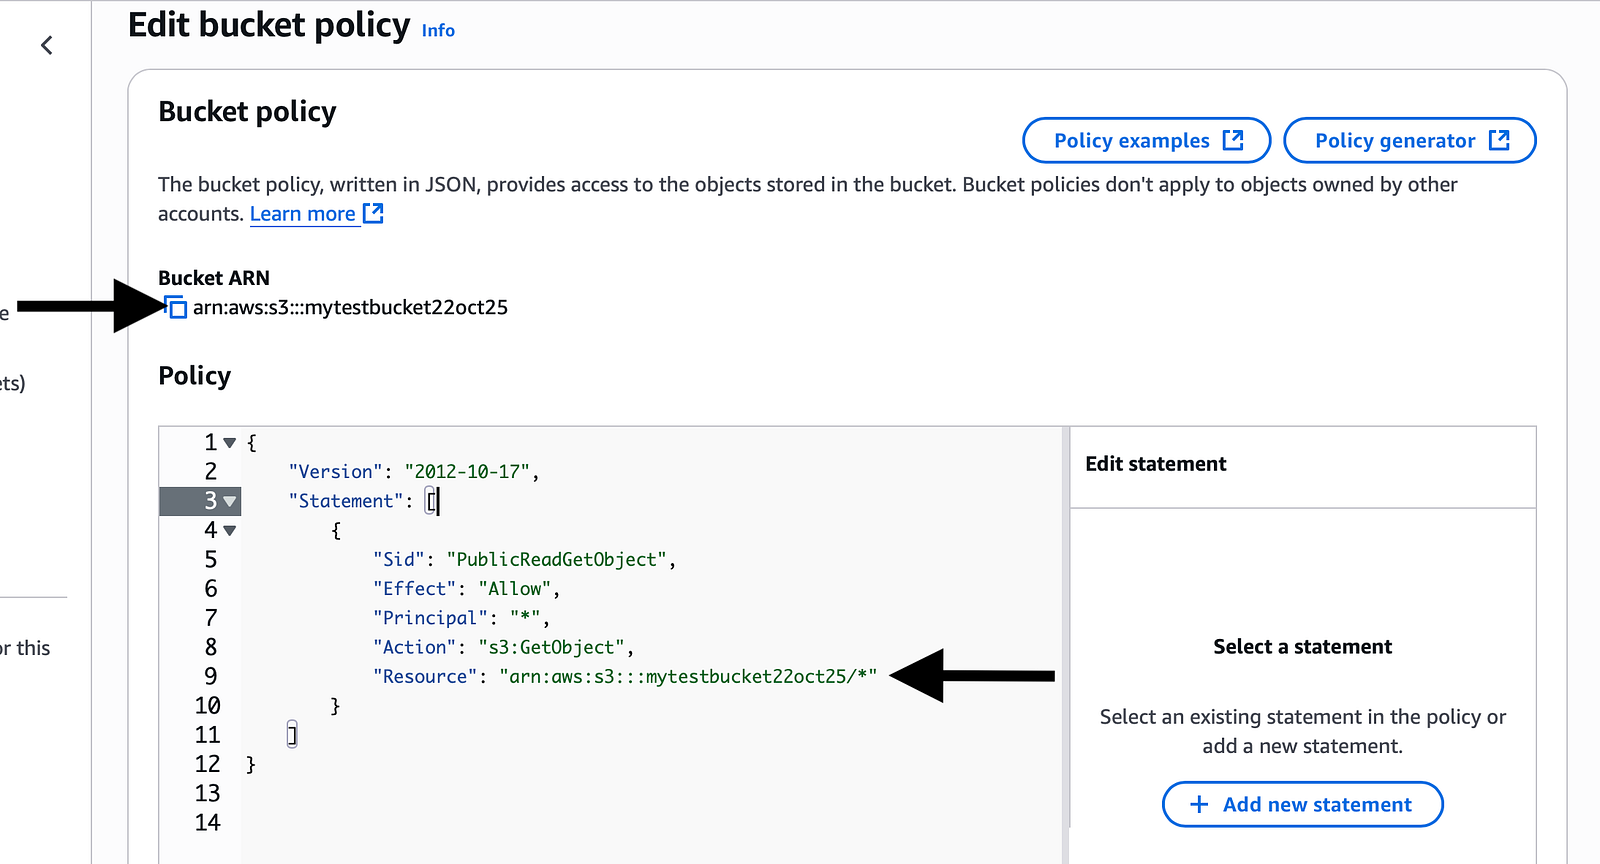
Make sure to change the urn to your Bucket’s urn shown above and click Save Changes.
Here we are, allowing everyone to get the objects uploaded in the bucket, hence the below.
Effect: “Allow”:- Means you are going to give Allow permission.
Principal: “*”:- Means we are allowing everyone.
Action: “s3:getObject”:- Means we are allowing everyone to get objects from our S3 bucket.
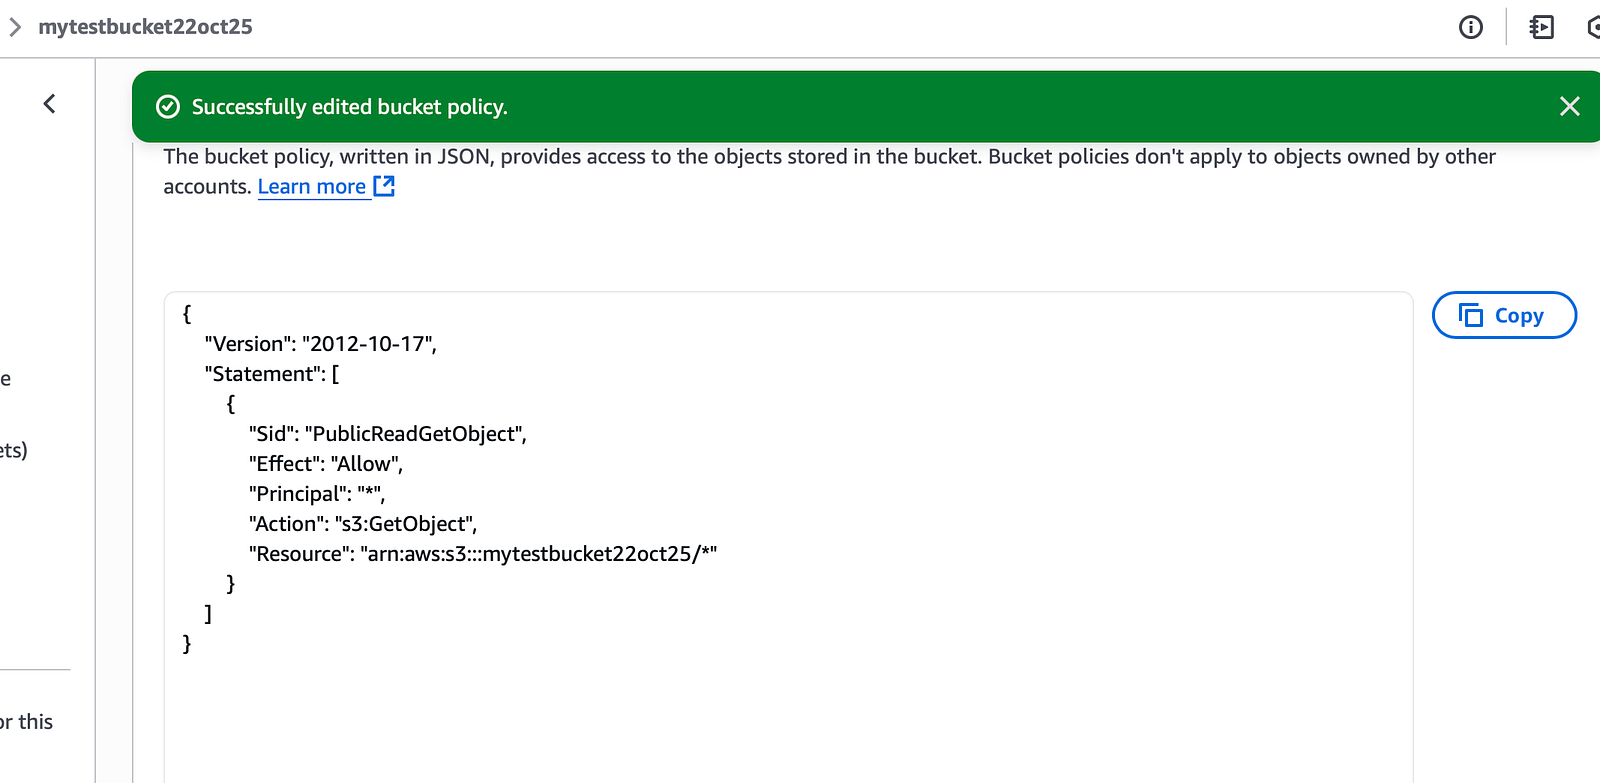
{
    "Version": "2012-10-17",
    "Statement": [
        {
            "Sid": "PublicReadGetObject",
            "Effect": "Allow",
            "Principal": "*",
            "Action": "s3:GetObject",
            "Resource": "arn:aws:s3:::your-bucket-name/*"
        }
    ]
}
8. Get the public URL and try accessing your static website.
Go to the “Properties” tab and scroll down to see your “Bucket Website Endpoint URL”.

Use this URL to access your website.

Wola! We got our very first tiny website.
9. Once we have completed, we can delete the bucket to ensure we are not charged for the bucket.
Let's delete our uploaded file first and then delete the bucket.

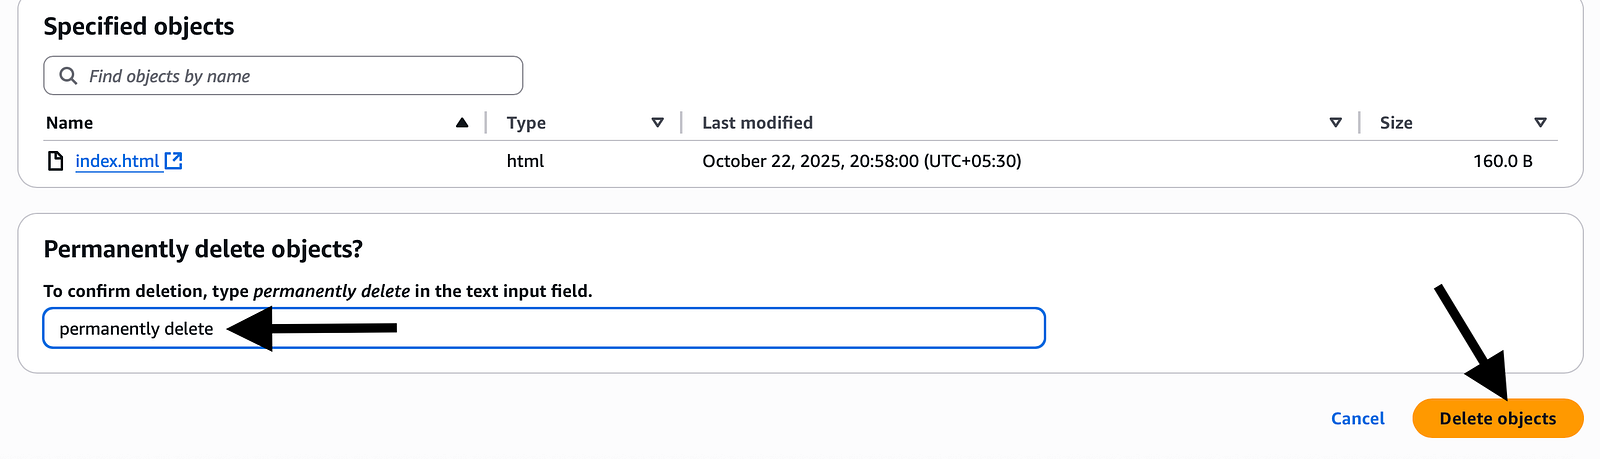


Thus, we have cleared all the evidence!
Conclusion
And there you have it! We have successfully used AWS Management Console to create our very first AWS S3 bucket and also create a static web page with it. More importantly, successfully creating this resource should have boosted our confidence and familiarised us with the console’s interface.
Thanks for reading!
Comments
Post a Comment